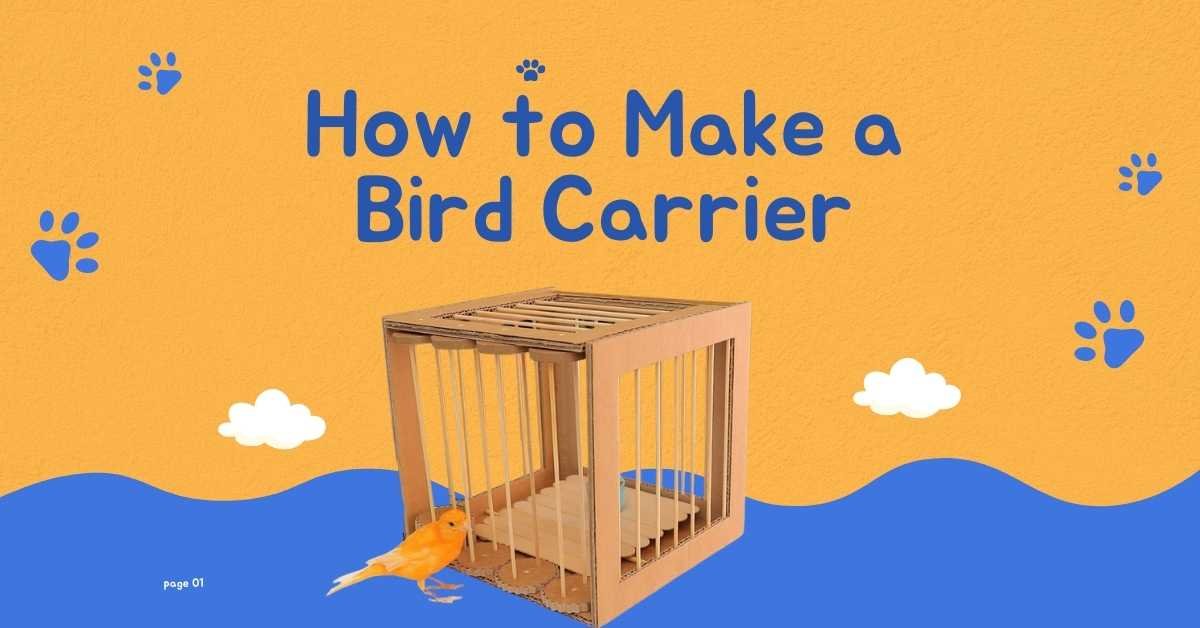
Birds are fascinating creatures that bring joy and beauty to our lives. Whether you own a pet bird or enjoy birdwatching, a bird carrier is essential for safely transporting your feathered friend. Whether it’s a visit to the vet, a trip to the park, or a family vacation, a bird carrier ensures your bird’s comfort and security during travel.
Why Make Your Bird Carrier?
Creating a bird carrier can be a rewarding and practical project for bird enthusiasts of all skill levels. A homemade carrier provides a secure environment for your bird while allowing you to add a personal touch and ensure your bird’s comfort during travel.
This guide covers everything you need to know, from selecting suitable materials to step-by-step instructions for constructing a bird carrier that meets your bird’s needs. Let’s dive in and explore how you can make a bird carrier that will keep your feathered friend safe and content on all your adventures.
Materials and Tools Needed
| Features | Values |
|---|---|
| Main Structure | Sturdy cardboard box |
| Ventilation | Mesh or wire screen |
| Tools | Scissors, duct tape, ruler, markers |
| Comfort | Small towel or soft cloth, wooden dowel or branch |
| Additional Items | Small dish for water and food |
Step-by-Step Instructions to Make a Bird Carrier
Step 1: Gather Your Materials
Start by gathering all the necessary materials. You’ll need a sturdy cardboard box, mesh or wire screen, scissors, duct tape, a ruler, and markers. Prepare a small towel or soft cloth for the carrier’s floor and a wooden dowel or branch to create a perch.
Step 2: Create the Entrance
Using a ruler, measure and cut a rectangular opening on the top of the box. This will serve as the entrance for your bird. Ensure the opening is large enough for easy access but not so significant that your bird can escape. Smooth any rough edges using sandpaper or tape to prevent injury.
Step 3: Install Ventilation
Cut a piece of mesh or wire screen to cover the entrance opening. Secure it with duct tape, ensuring it is tightly attached to prevent gaps. Then, use a marker to outline where you’ll add ventilation holes on the sides of the box. Use scissors to carefully create small holes that allow air circulation without compromising the carrier’s security.
Step 4: Add Comfort Elements
Line the bottom of the carrier with a small towel or soft cloth to provide a comfortable surface for your bird to stand on. Secure the fabric with duct tape, ensuring it stays in place during transport. Then, attach a wooden dowel or branch inside the carrier to serve as a perch. Use duct tape to secure it, ensuring it is stable and safe for your bird.
Step 5: Final Touches
Place a small dish inside the carrier for water and food, securing it if necessary. Double-check all edges and attachments to ensure the airline is safe and secure. Trim any excess tape or cardboard that might harm your bird.
Maintaining Your Bird Carrier
Regular maintenance is crucial to keep your bird carrier clean and safe. Here are some tips:
- Cleaning: Regularly clean the carrier to maintain a hygienic environment. Replace the towel or cloth lining and clean any food or droppings. Disinfect the carrier with a bird-safe cleaner.
- Safety Check: Before each use, inspect the airline to ensure it is in good condition, with no loose edges or weakened areas. Ensure all attachments are secure and the ventilation holes are clear of debris.
Frequently Asked Questions
What Materials Do I Need to Make a Bird Carrier?
To make a bird carrier, you need a sturdy cardboard box, mesh or wire screen, scissors, duct tape, a ruler, markers, a small towel or soft cloth, a wooden dowel or branch for a perch, and a small dish for water and food.
How Do I Ensure My Bird’s Safety in the Carrier?
Ensure safety by choosing strong, escape-proof materials. Ensure the carrier is well-ventilated, includes a secure perch, and avoids toxic materials. Check the closure mechanism to ensure it’s safe and cannot be accidentally opened.
Can I Customize the Bird Carrier?
You can customize the bird carrier by adjusting its size, adding pockets for treats or toys, and incorporating features like a removable tray for easy cleaning or a clear plastic window for visibility.
How Do I Clean the Bird Carrier?
Remove any removable parts, hand wash with a mild detergent, and allow it to air dry completely. Clean stains or spills immediately to prevent them from setting in.
Can I Use the Bird Carrier for Other Pets?
While primarily designed for birds, the carrier may also be suitable for other small pets like hamsters or guinea pigs. Consult a veterinarian to ensure the airline meets your pet’s specific needs.
Conclusion
Making your bird carrier is a practical and economical solution for transporting your feathered companion. By following this guide, you can ensure that your bird travels comfortably and securely. With a homemade bird carrier, you provide a safe and personalized environment that meets your bird’s specific needs. Start crafting your bird carrier today, and enjoy peace of mind knowing your bird is traveling in comfort and style. Safe travels!
